Negative-space mini-studies: drawing the silence
Negative-space mini-studies: drawing the silence
Negative space is the area around and between subjects, and in small studies it often determines the clarity of a composition more than the drawn marks do. Approaching thumbnails with negative space as the primary concern changes the order of decisions: you design the voids and allow positive forms to emerge. Below are three techniques for treating negative space intentionally, followed by short exercises to integrate the skill into a daily routine.
Technique A — Silhouette reversal
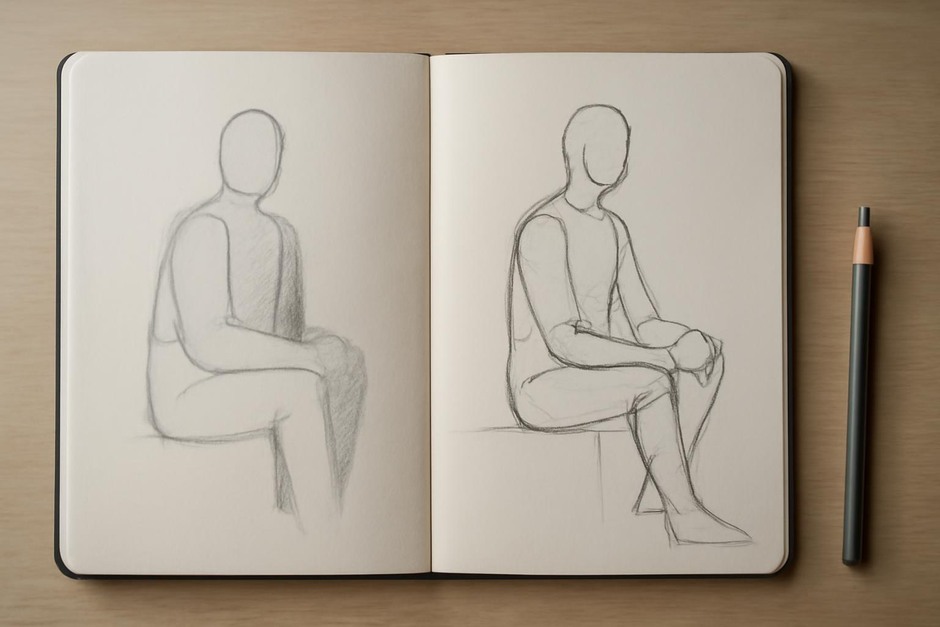
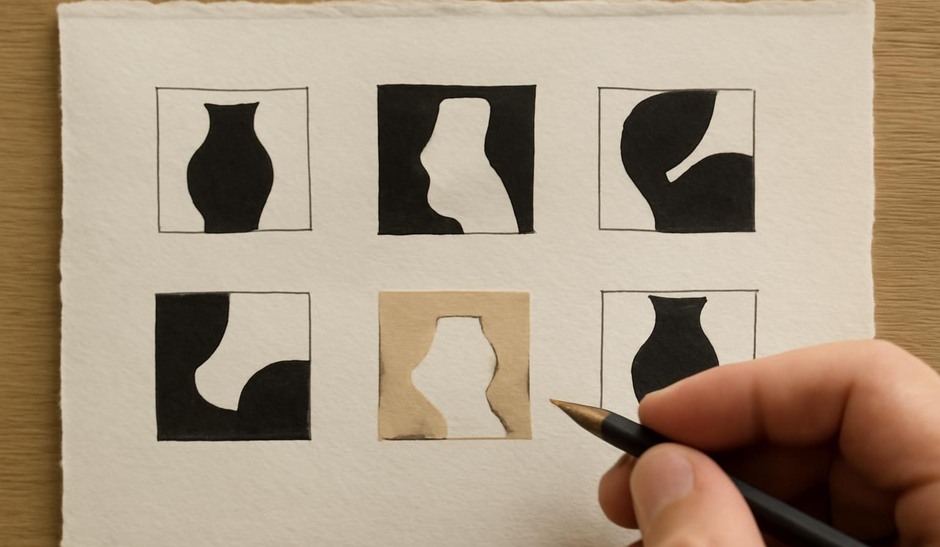
Silhouette reversal means drawing the void as a subject. Begin by blocking the background, leaving the subject as an empty silhouette, or start with the silhouette itself and consider the surrounding mass as the design problem. This technique is efficient in thumbnails because it forces you to look at outlines and relationships rather than internal detail. A strong silhouette often clarifies the reading of an image even at tiny scales.
Technique B — Cut-paper collage
Working with cut-paper encourages decisions about positive and negative simultaneously. Quickly cut shapes from scrap paper and rearrange them on a contrasting ground. The physical act of moving pieces makes it easy to test alternate gaps and to see how a single change in a hole or notch affects the whole composition. Cut-paper can be faster than drawn sketches for exploring permutation of spaces, especially when you want to see immediate variations.
Technique C — Selective erasure
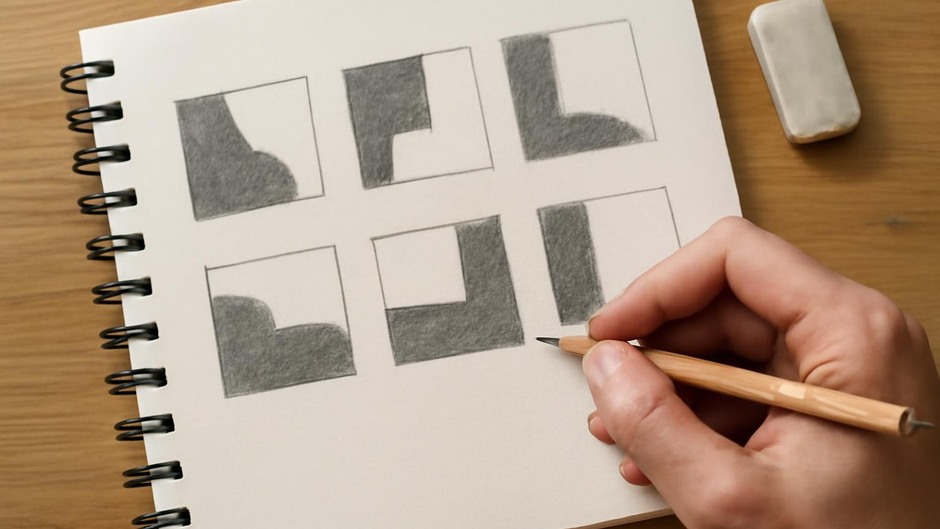
Selective erasure starts from a field of value and carves out the negative spaces. Shade a small rectangle evenly, then use an eraser or gouache lifting to carve the voids that define the subject. This is the reverse of traditional mark-making and trains visual imagination — you must predict what the empty shapes will imply before committing. In thumbnails, the technique helps with planning where to leave air in a composition.
Each technique produces different learning outcomes. Silhouette reversal sharpens the edge-reading of forms. Cut-paper heightens sensitivity to adjacency and scale changes. Selective erasure trains foresight about the role of absence when the medium resists additive correction.
Exercises to try
- Triple Pass: On three small pieces of paper, apply each technique once to the same subject. Keep time limited (2–3 minutes per pass) and compare results. Which approach reveals the most about spacing and which encourages the most interesting shapes?
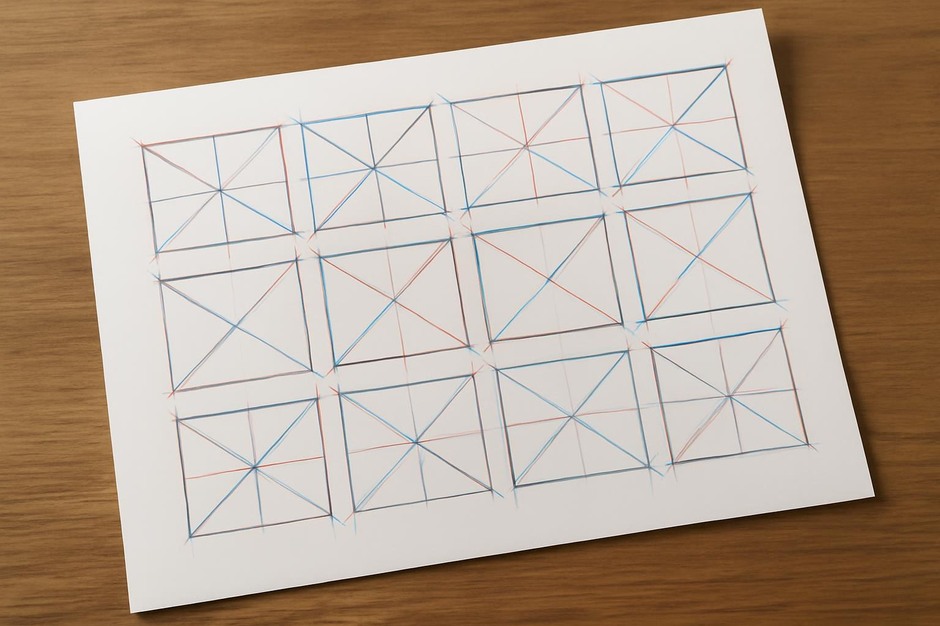
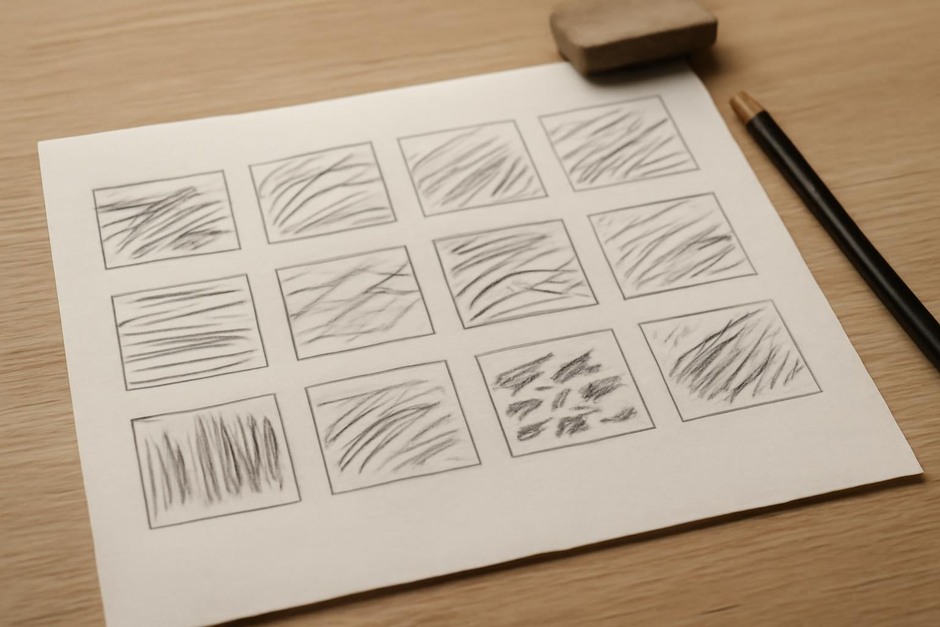
- Negative-First Grid: Fill a page with small squares. For each square, mark only the negative space that interacts with the edges of the square (corners, gaps that touch sides). These constrained studies teach how edge adjacency affects perception.
- Inversion Test: Make a successful positive thumbnail and then invert it by redrawing the composition using only negative-space thinking. Note where unexpected tensions or balances appear in the inversion.
Practicing negative space in small doses helps you make quieter decisions in larger work. When you habitually consider the silence around objects, compositions gain clarity and breathing room. The exercises above are intended as short shifts in habit rather than permanent technique changes: use them as regular reminders that what you do not draw is often as important as what you do.